Your parents have moved downstairs, the second floor has become storage, and the house you built fifteen years ago suddenly has a staircase problem. Residential elevator installation in a finished home is entirely doable, but it works differently from a new build. You’re not designing around a lift; you’re finding where one can honestly fit. BG Elevators can help assess the available space and identify practical installation options.
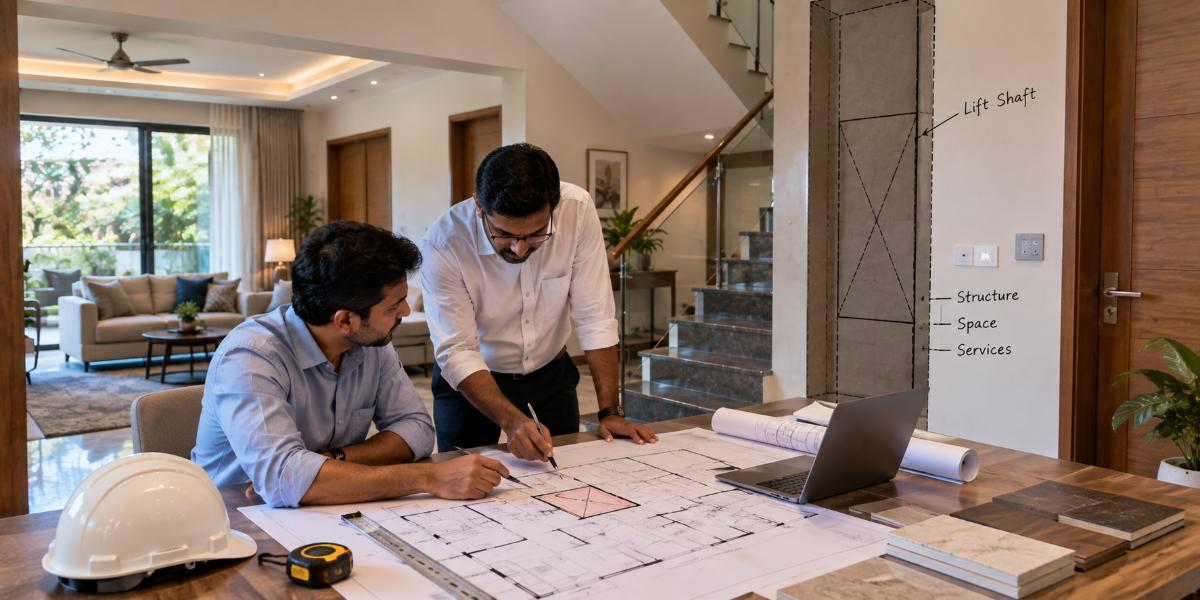
The houses where this goes well share one thing: someone measured properly before anyone promised anything. Good home elevator planning in an occupied house starts with a survey, not a brochure, and everything that follows comes down to structure, space and services, roughly in that order. BG Elevators can support this planning process with a site assessment before installation decisions are made.
Residential Elevator Installation Starts With the House
Before looking at products, walk the house with a tape and ask where people move. If bedrooms are upstairs and the kitchen is down, the lift should land near both, not in a back utility corner reached through two doors.
Note ceiling heights, the direction the slab spans, where beams run, and what sits directly above the spot you’re considering: an overhead tank, a solar heater and its plumbing, or a terrace slab you can’t easily open. That single check rules out more candidate positions for residential elevator installation than any other factor.
Where a Residential Elevator Can Go
Four positions cover most residential elevator installation retrofits, each with a real trade-off.
The Stair Void
The classic answer, using space that’s already vertical and already open. It only works if the void is wide enough — many Bangalore stairs have a 250–400 mm gap, which is nowhere near enough. Widening it means rebuilding flights and landings, which is a serious structural job.
An External Shaft
Building outside the wall line is usually the cleanest option in an occupied house. You lose no interior space, the mess stays outdoors, and the shaft can be steel-framed with glass. Setbacks, neighbour sightlines and rainwater detailing are the constraints. Bangalore’s monsoon will find any unsealed joint at the slab junction.
Stacked Rooms or a Light Well
Cupboards, box rooms or storage niches that align on every floor make a surprisingly good shaft, as do the light wells common in older houses. You sacrifice a wardrobe per floor, which most families accept once they price the alternative.
- Stair void: no lost floor area, but heavy structural work and a narrow cabin.
- External bay: minimal disruption inside, needs setback space and weatherproofing.
- Stacked cupboards: simplest structurally, costs you storage on every floor.
- Light well or courtyard: free vertical space, may need roofing and drainage rework.
Residential Elevator Installation Without a Deep Pit
Pit depth is the constraint that decides most retrofits. Digging 800 mm below an existing plinth, next to old footings, is expensive and occasionally unsafe.
Screw-driven and belt-driven home lifts need only a 50–100 mm recess, formed by raising the ground-floor landing slightly or cutting a shallow rebate. Hydraulic units want 200–350 mm, still achievable in most houses. Traction lifts need a proper pit and suit homes where the ground floor already sits on a raised plinth.
Headroom works the same way in reverse. If your terrace slab is fixed, a machine-room-less traction lift wanting 3300 mm of overhead won’t fit, and a hydraulic or screw-driven machine at 2500–2700 mm becomes the sensible choice.
Matching the Elevator Shaft to the Existing Structure
Cutting openings through slabs is routine work in a residential elevator installation, but it needs a structural engineer’s sign-off rather than a mason’s confidence. The engineer checks span direction, whether reinforcement can be cut there, and whether the opening edges need trimmer beams.
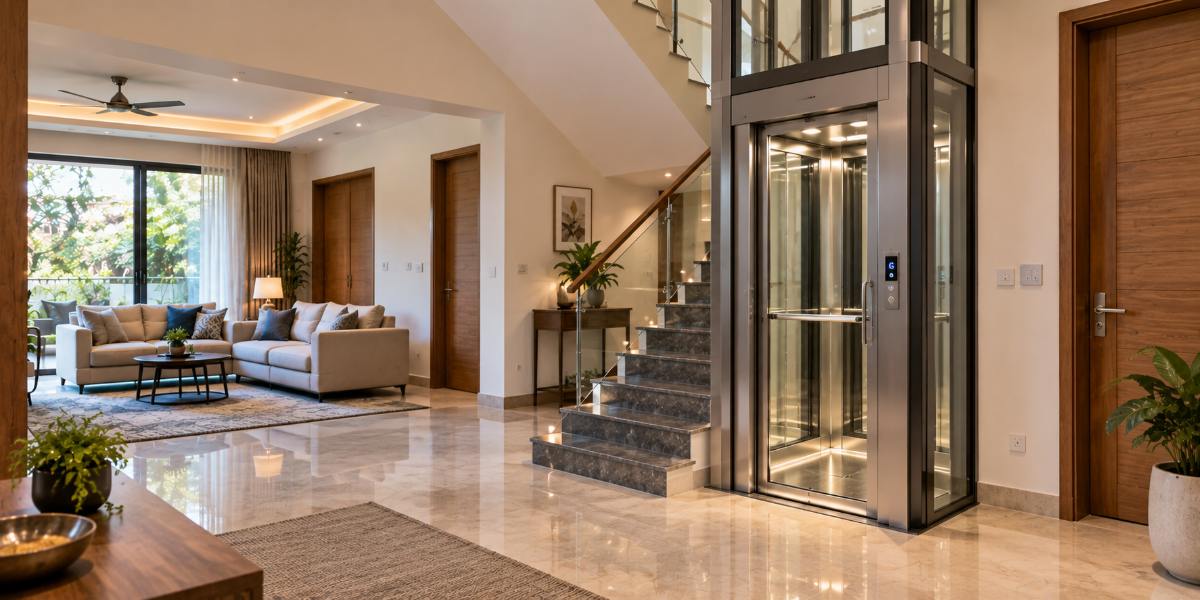
With a self-supporting steel elevator shaft, the frame carries lift loads to a new foundation and the existing structure only provides lateral ties. That’s often the safest route in an older house, since you’re not adding vertical load to columns designed decades ago for something else. Where the shaft uses masonry or RCC walls, they must be plumb within a few millimetres over the full travel. Out-of-plumb shafts are the commonest reason a home lift installation stalls after the equipment arrives.
Residential Lift Design That Looks Like It Belongs
A retrofit lift shouldn’t announce itself as an afterthought. Good residential lift design borrows from the house rather than the catalogue.
Cabin and Enclosure
Match the cabin floor to the surrounding flooring, use the same wood tone as the doors elsewhere, and keep the ceiling flat with recessed lighting. A glass-backed car in a light well feels like part of the architecture. A dark laminate box in a corridor feels like a service lift.
Landing Doors
Landing doors are what you see from every floor, so they matter more than the cabin. Automatic sliding doors in a finish that matches your joinery disappear into the wall. Manual swing doors need clear space to open and rarely look intentional in a retrofit.
Services, Power and the Things That Get in the Way
Plumbing stacks, conduits, water lines and drainage runs love the exact corner you want. Rerouting them is normal and worth budgeting for, but home elevator planning should catch them at survey stage, not mid-demolition.
Most home lifts run on a single-phase or three-phase domestic supply with a dedicated circuit and its own MCB. Ask for the connected load in writing so your electrician can confirm the incoming supply is adequate. ARD battery backup isn’t optional in practice; a power cut is easy to shrug off on paper and impossible to ignore when someone is inside the car.
What Residential Elevator Installation Is Like on Site
Homeowners worry most about disruption, and with residential elevator installation the honest answer depends on shaft position. An external shaft touches the house for only a few days. An internal shaft through three slabs means dust, noise and part of the house closed off for weeks.
A rough sequence looks like this:
- Survey, structural check and shaft drawing: one to three weeks.
- Civil work: openings, pit, shaft walls or steel frame: two to five weeks.
- Equipment delivery and erection: one to two weeks.
- Electrical connection, testing, statutory inspection and handover.
Lifts in Karnataka come under state lift legislation, so any home lift installation needs registration and inspection, private house or not. Build that into the timeline rather than treating it as paperwork at the end.
Costs and What Moves the Number
Indicative pricing for a retrofit sits above the equivalent new-build job, because civil work and access are harder. The equipment is often only 60 to 70 percent of what you spend on residential elevator installation; structural openings, the enclosure, service diversions, finishes and making good the walls carry the rest.
Stops, capacity, drive type, internal versus external shaft, and the amount of service rerouting move the number most. Ask every supplier to quote the same scope, or you’ll compare figures that mean different things.
Frequently Asked Questions
Can a residential elevator installation be done without breaking the staircase?
Usually, yes. Most retrofits avoid the staircase entirely by using an external shaft, a light well, or stacked cupboards that align on each floor. Rebuilding the stair is only necessary when the void is the sole viable position and it’s too narrow for the cabin you need.
How much space does a retrofit home lift need?
A two- or three-person cabin needs roughly 1000 to 1200 mm square of clear shaft, and a wheelchair-accessible car about 1600 x 1500 mm. Remember the shaft is 200 to 300 mm larger than the cabin on each side once rails and door pockets are allowed for.
Will adding a lift weaken the building?
Not if it’s engineered properly. A structural engineer assesses the slab openings and specifies trimmer beams where reinforcement is cut. Self-supporting steel shafts avoid loading existing columns altogether, which is often preferable in older homes where original design loads are unknown.
How long does the whole project take?
Residential elevator installation in a typical three-stop house runs six to twelve weeks from survey to handover, longer if services need extensive rerouting or the structure needs strengthening. Equipment erection is quick; civil work, approvals and inspection consume most of the calendar.
Conclusion
Fitting a lift into a house that never expected one is a structural puzzle rather than a shopping decision. Survey first, let pit depth and headroom narrow the drive options, pick the shaft position that costs you least of what you actually use, and budget service diversions from day one. BG Elevators can help assess these requirements and identify a practical installation approach. Residential elevator installation done in that order tends to finish on time and look like it was always meant to be there.
If you’re weighing up positions in your own house, walking the site with an experienced local lift team and your structural engineer is the quickest way to separate what’s possible from what only sounds possible. BG Elevators can help you evaluate your home and plan the right solution. Contact BG Elevators today to discuss your project.